We’re excited to launch our first HomelabAddiction printable 🎉 Become an early supporter and get 20% off withEARLY20GET NOW

Homelab Addiction
Self-Hosting

Homelab Hardware Basics: Start with the Workloads, Not the Most Expensive Box

Choose homelab hardware by first workloads, power budget, noise tolerance, and expansion path so your first box stays useful without overspending.

HomelabAddiction Research Desk5 min read
Disclosure: This article may contain affiliate links. If you purchase through these links, we may earn a commission at no additional cost to you. We only recommend products we have personally tested or thoroughly researched.

FTC disclosure: This article contains affiliate links. If you buy through them, HomelabAddiction may earn a commission at no additional cost to you.

Documentation basis: This rewrite is grounded in the Proxmox VE system requirements, the TrueNAS SCALE hardware guidance, the Ubuntu Server installation tutorial, and the Docker overview. The point is to help a new builder choose hardware by workload, upgrade path, and operating cost rather than by the loudest rack-photo version of a homelab.

The safest first hardware decision is a workload-first filter: decide whether the box mainly needs to host a few containers, a handful of virtual machines, storage duties, or a mix of those jobs before you shop by CPU badge alone.

That workload-first filter usually leads beginners toward reused desktops, mini PCs, or a modest tower long before it justifies server-grade noise, power draw, or chassis complexity.

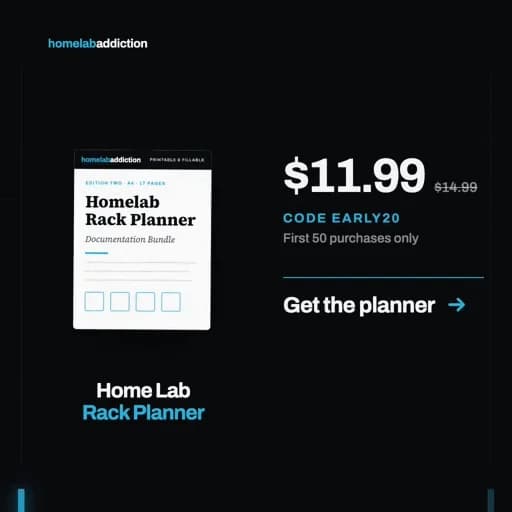
New in the store: If you are already sketching a future rack build, the Home Lab Rack Planner gives you a simple way to map U space, depth, power, and cable paths before you spend on rails, shelves, or the wrong chassis. It is $11.99 with code EARLY20 instead of $14.99, limited to the first 50 purchases.

This page helps new homelab builders match RAM, storage flexibility, idle power, and expansion headroom to the jobs they actually plan to run so the first system stays useful without becoming an oversized regret purchase.

  • Running lightweight services in containers
  • Learning Linux basics, SSH, updates, firewall rules
  • Testing a hypervisor or a NAS OS before you commit

Not great at:

  • Lots of storage drives
  • Quiet 24/7 operation (depends on the machine)
  • Redundant storage setups

Practical advice:

  • Prefer wired Ethernet if possible. Wi-Fi adds weird reliability problems that look like server issues.
  • If it is a laptop, disable sleep and watch thermals.

Hidden-gem detail: if you are reusing an old machine, the best upgrade is often a small SSD for the OS.

transmission signup

article_topic // Homelab Hardware Basics

Don't leave without the setup notes.

Get practical homelab guides, failure logs, and beginner-friendly build notes in your inbox.

Enter your email address to receive the Homelab Addiction newsletter.

Weekly only. No spam. Unsubscribe anytime.

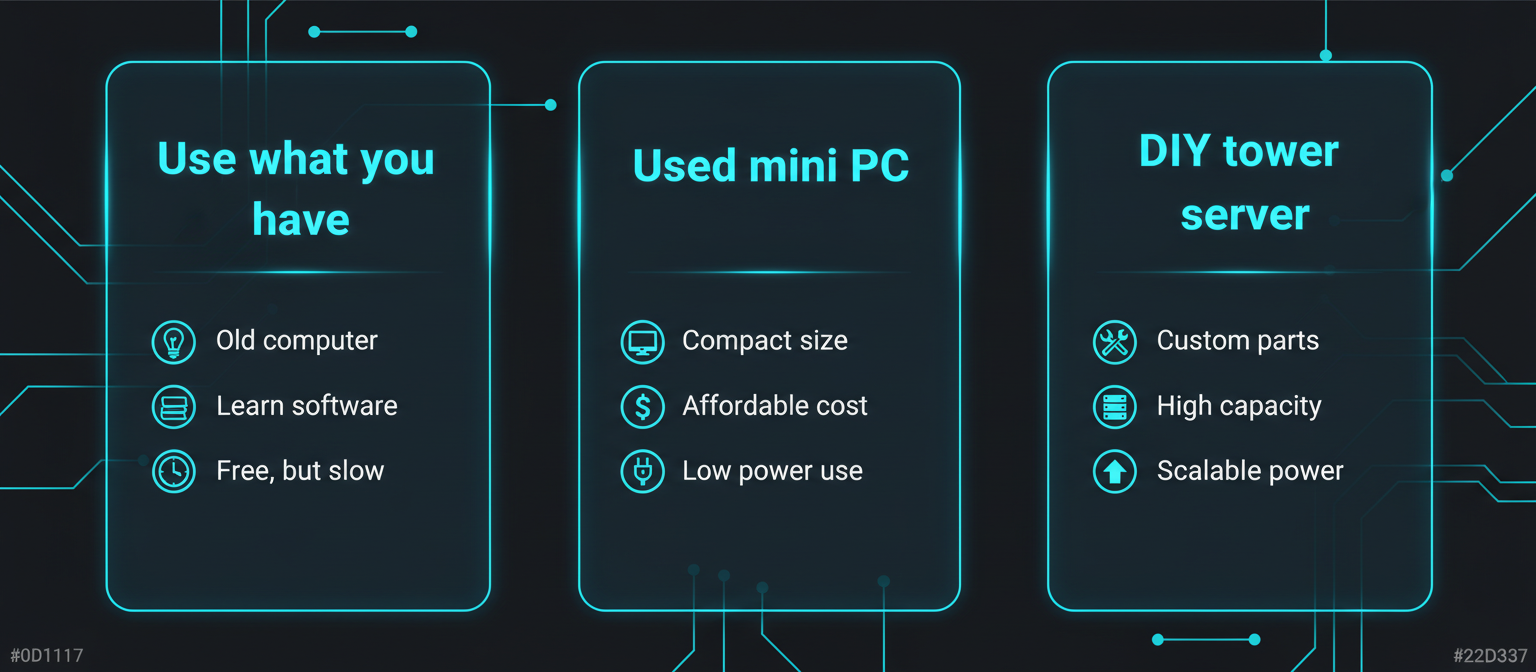
Tier 2: A used mini PC

If you want something quiet, power-efficient, and easy to live with 24/7, a used business-class mini PC is hard to beat.

What to look for:

  • At least 1x gigabit Ethernet
  • 16 GB RAM if you want VMs
  • NVMe slot if possible

This tier is usually the sweet spot until you know you truly need lots of disks or PCIe expansion.

Tier 3: A DIY tower server

A tower build makes sense when you want:

  • Multiple 3.5 inch drives for a NAS
  • A lot of RAM
  • PCIe expansion
  • Easier future upgrades

Trade-offs:

  • Larger and often louder
  • Higher idle power if chosen poorly
  • More variables to troubleshoot
Infographic comparing three beginner homelab hardware tiers: use what you have, used mini PC, and DIY tower server.

Choosing the core parts: CPU, RAM, and storage

CPU: stop chasing cores, start matching features

If you want virtualization, make sure your CPU and platform support it. Proxmox calls out Intel VT or AMD-V, and for passthrough later VT-d or AMD-d.

RAM: the thing you will run out of first

Rules of thumb:

  • 8 GB is fine for a few containers
  • 16 GB is a comfortable starter for containers and 1 to 3 light VMs
  • 32 GB gives you room to experiment

If you plan ZFS, Proxmox includes a planning rule of thumb around RAM per TB used.

Storage: separate fast from safe

Think of storage as two problems: 1) Where your OS and apps live 2) Where your data lives

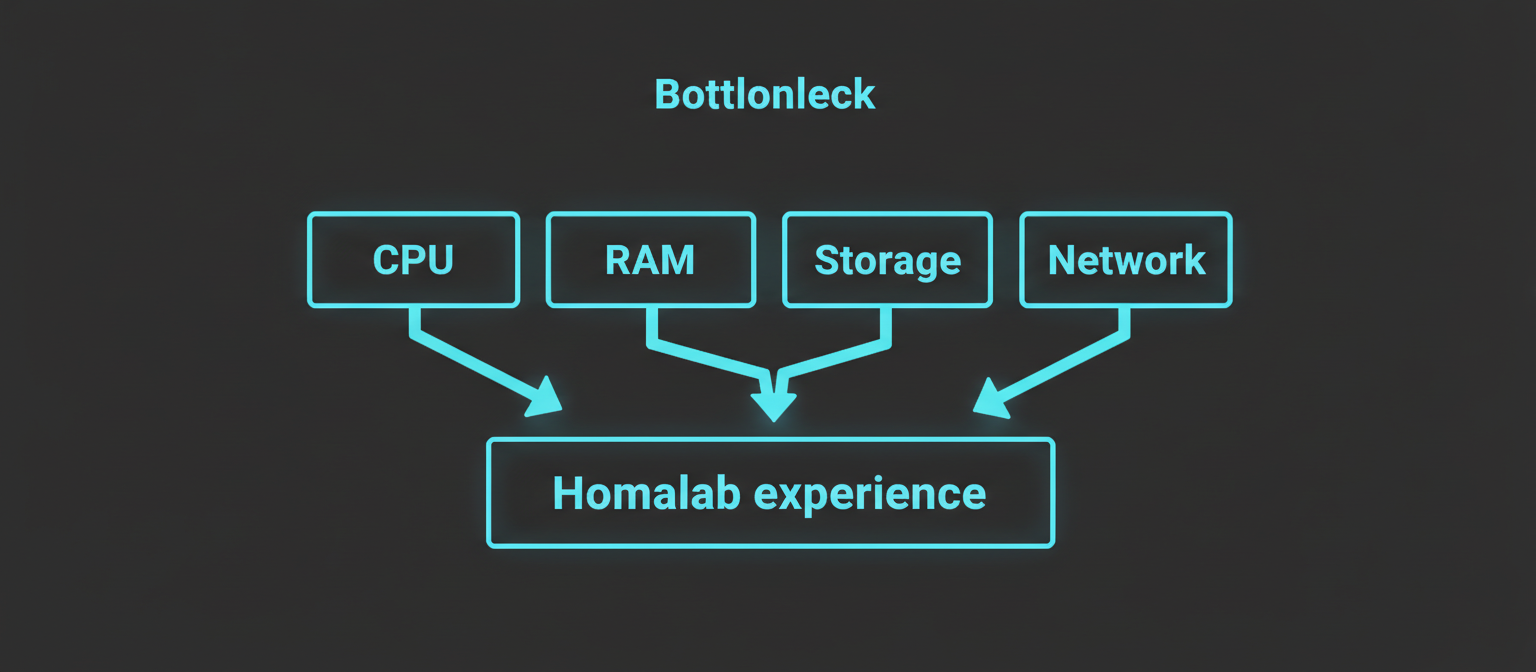
Diagram showing CPU, RAM, storage, and network as potential bottlenecks affecting homelab experience.

SSD vs HDD: what to use, and where

SSDs are great for OS, apps, databases, and VMs. HDDs are great for bulk media and backups.

A simple layout:

  • 1x SSD for OS and apps
  • 1x or more HDDs for bulk data
  • 1x external drive or another machine for backups

Storage reliability basics: SMART and why RAID is not backup

SMART helps you catch early warning signs.

If you plan to use ZFS, drive type matters. TrueNAS warns about SMR drives and generally recommends CMR for consistency.

Networking basics: Ethernet first

Use wired Ethernet for the homelab machine if you can.

If you want a solid reference for Ethernet standards:

Hidden-gem detail: many homelab problems are bad cables. Swap the cable before redesigning your network.

From the lab

Power, noise, and heat: the stuff you feel every day

A homelab often runs 24/7, so idle efficiency matters. 80 PLUS defines minimum efficiency targets across multiple load points.

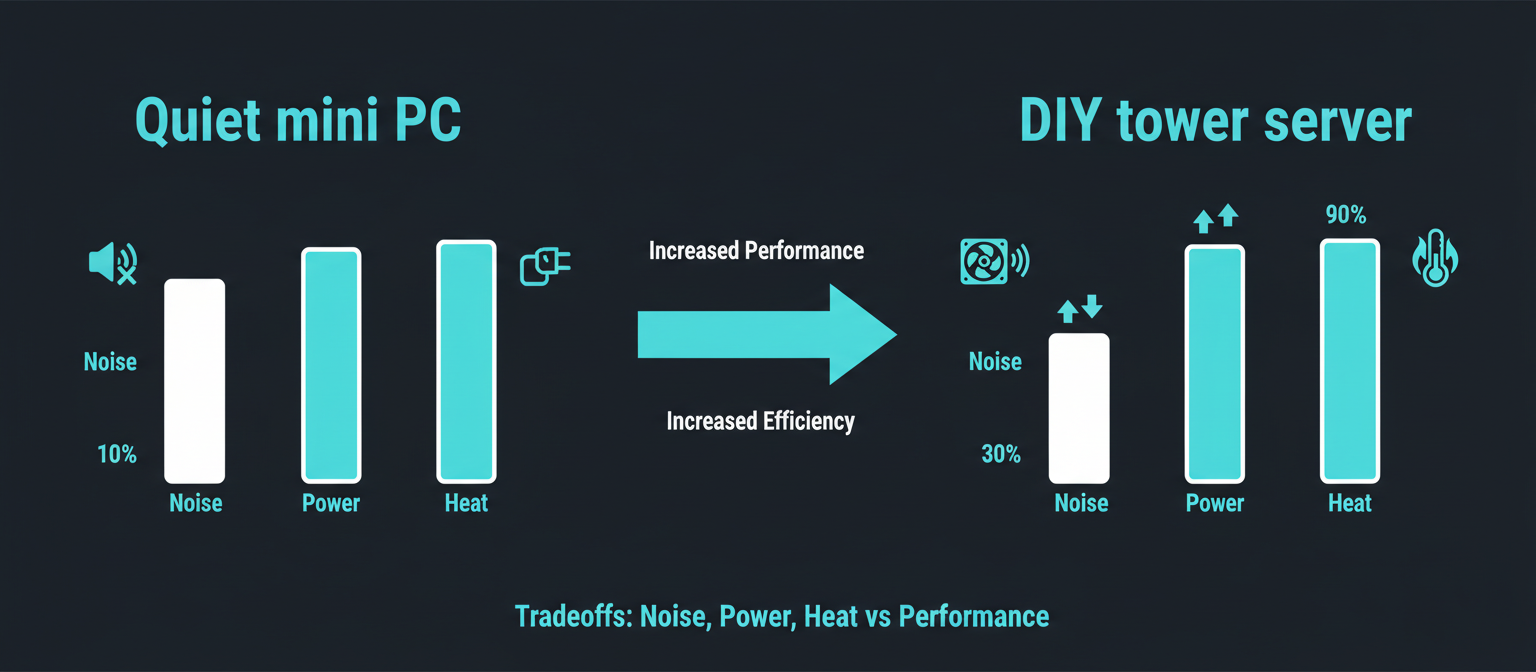
Visual comparing quiet low-power mini PCs versus louder higher-power server builds across noise, power, and heat.

A simple shopping checklist

Core system:

  • CPU: modern enough for your workload
  • RAM: 16 GB if you plan VMs, 32 GB if you want room
  • Boot and apps: 500 GB to 1 TB SSD
  • Ethernet: at least 1x gigabit

Do not forget:

  • A backup target
  • Optional: a UPS for clean shutdowns

If you are buying instead of reusing gear

  • WD Red Plus 8TB - a safe CMR NAS-drive starting point when your first lab includes a small 2-bay or 4-bay storage box.
  • APC BR1500MS2 UPS - a practical clean-shutdown upgrade once the lab starts holding real backups, a NAS, or longer-running VMs.

These are not required to start. They fit the specific use cases this page already calls out: modest NAS storage and a cleaner shutdown path.

Common beginner mistakes

  • Buying too much hardware before you know what you run
  • Treating RAID as a backup
  • Running everything on Wi-Fi
  • Underestimating RAM for VMs
  • Ignoring power and noise

FAQ

Do I need a server-grade machine to start a homelab?

No. A used mini PC or old desktop is enough for most beginner homelabs.

How much RAM do I really need?

8 to 16 GB works for containers. For multiple VMs, 16 GB is a practical starting point. 32 GB gives breathing room.

Is an SSD required?

Not required, but it makes everything smoother. If you can upgrade one thing, upgrade the OS drive to an SSD.

Should I buy HDDs for a NAS right away?

A router and one Ethernet cable is enough. Add a gigabit switch when you run out of ports.

Next steps: pick your OS

Next in the beginner series: Choosing a Homelab OS: Proxmox, TrueNAS, or Plain Linux

Until that is live, use the Homelab Basics hub:

Pick your tier and write down your first 3 services. If you can name what you are running, you can choose hardware and an OS without guessing.

transmission signupstatus: open channel

article_topic // Homelab Hardware Basics

Start building a smarter homelab.

Join readers learning Proxmox, networking, storage, backups, and self-hosting without breaking everything.

Enter your email address to receive the Homelab Addiction newsletter.

Beginner-friendly

No gatekeeping. Just clear, actionable guides.

1 useful email / week

Practical tips, real-world setups, and lessons learned.

Zero hype, practical only

What works, what breaks, and how to fix it.

Reply to any email with what you're building.
I read and reply to as many as I can.

— The Homelab Addiction Operator

support // the lab

Found this guide useful?

If it saved you time or a rebuild, you can support more practical homelab guides.

Support the lab